How to Identify Your Intel® Graphics in Windows® 10 and Windows 11*
Use the instructions in the methods below to identify the Intel graphics product in your computer before installing a graphics driver in Windows 10. For older Windows versions, see the following:
- How Do I Identify My Intel® Graphics Controller in Windows 8*/8.1*?
- How Do I Identify My Intel® Graphics Controller in Windows 7*?
If you need to identify your Intel graphics driver version, see What's My Intel® Graphics Driver Version?
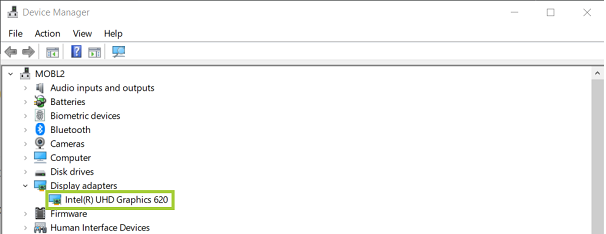
Method 1: Manual identification
- Open Device Manager by simultaneously pressing the Windows and X keys on your keyboard. Select Device Manager to open it.
- Click Yes when prompted for permission from User Account Control.
- Click Display adapters to expand it.
- Note the Intel graphics entry listed.
Example 1:
Example 2:
| Note |
|
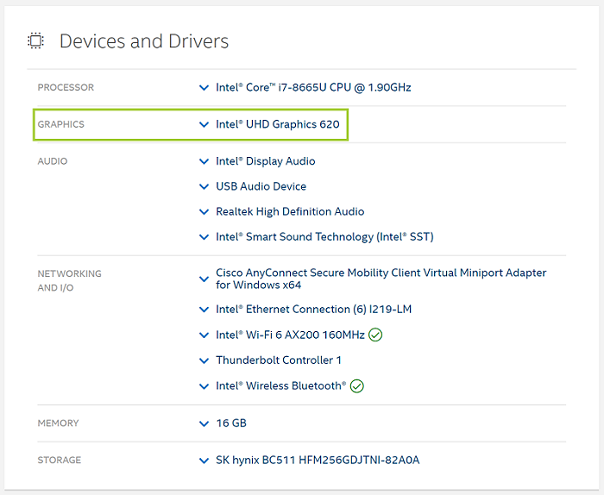
Method 2: Use the Intel® Driver & Support Assistant to automatically detect your graphics controller
 Download the Intel® Driver & Support Assistant. For more information, see the Intel® Driver & Support Assistant FAQ.
- Run the Intel® Driver & Support Assistant.
- Under Devices and Drivers, expand the Intel Graphics entry.
- Note the Intel Graphics entry presented.
| Note |
|
Alternative:
Once you have identified your Intel graphics product, see how to install the latest drivers on Windows® 10 and 11*.