How to Manually Install Intel® Network Adapter Drivers in Windows*
For this example, the adapter used is the Intel® Ethernet Connection X722 and Windows Server* 2016 as the base operating system.
- Download the driver package for your operating system.
Links can be found in the Supported Operating Systems for Retail Intel® Ethernet Adapters for discreet Ethernet Adapters.
Links can be found in the Supported Operating Systems for Intel® Ethernet Controllers (LOM) for onboard Ethernet Controllers/Connections. - Open the downloaded zip file. Example: Wired_driver_27.6_x64.zip
- Extract the .exe file from the zip file to a temporary location.
Note Double clicking this self-extracting .exe file will start the automatic installation, for manual installation continue with Step 4.
- Use Zip software to extract the files from the installation EXE to a temporary location. Example: C:\Temp\PROWinx64
- Right-click Start button and click Device Manager.
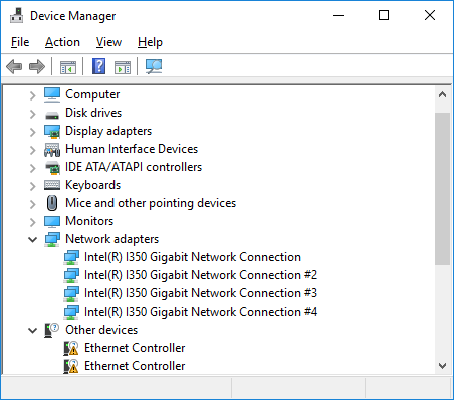
- Right-click the connection you want to update and choose Update Driver Software.
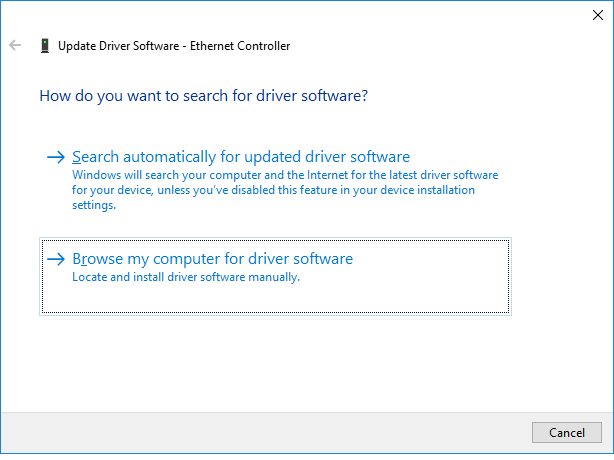
If there is no driver installed for that device, it will show up with a yellow exclamation and have a generic name such as Ethernet Controller. - Choose Browse my computer for driver software:
- Click the Browse button and go to the folder where you extracted the driver files. Make sure to check Include subfolders so that it will scan the entire driver set.
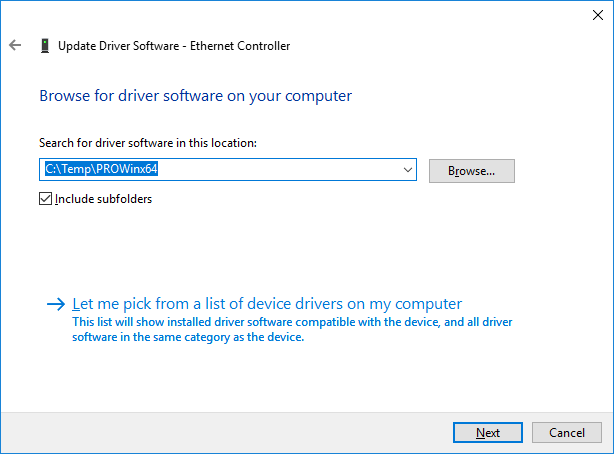
- Click Next and it will start to install the driver software. After installation is complete, it will show in the network adapters section.
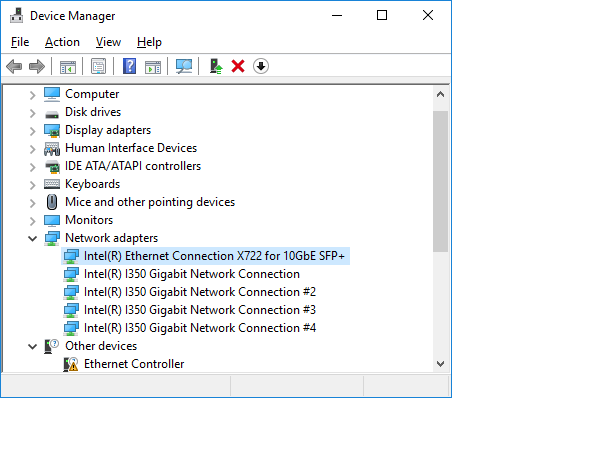
- Restart from Step 6 for any other adapters you want to update by selecting the adapter from the list.
| Note | If no driver is found, it may be that the device has no newer drivers and the Microsoft drivers included with Windows are the latest. Check the Supported Operating Systems for Retail Intel® Ethernet Adapters and the Supported Operating Systems for Intel® Ethernet Controllers (LOM) for supported devices. |
| Related topics |
| Windows® 10 Support for Intel® Ethernet Adapters |
| Supported Operating Systems for Retail Intel® Ethernet Adapters |
| Supported Operating Systems for Intel® Ethernet Controllers (LOM) |